How to Charge a Nissan LEAF

The Nissan LEAF is an all-electric or battery electric vehicle, and one of the most popular EVs available on the market today. New models of the Nissan LEAF have an impressive 150 to 226 mile driving range and can easily charge overnight with the right home Nissan LEAF charger. Every Nissan driver needs to review these simple step-by-step instructions to find out how to charge a Nissan LEAF:
1. Decide on an EV charger
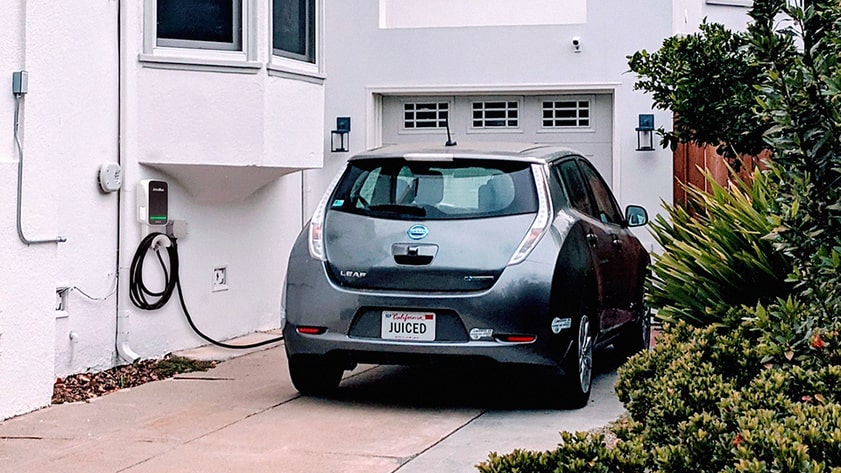
Level 1 chargers come standard with your Nissan LEAF and use household 120V outlets. They replenish at a slow rate of 3-5 miles of range per hour, so many drivers choose to upgrade to a Level 2 home EV charger like the JuiceBox. The JuiceBox smart EV charger uses a 240 volt outlet and charges up to 9 times faster, giving you 12-60 miles of range per hour.
Outside of the home, at your workplace, nearby grocery store, or a parking garage, you may have access to a Level 2 commercial charger like the JuiceBox Pro or a Level 3 DC fast charger such as the JuicePump. Apps like PlugShare, Google Maps, EVmatch or AmpUp can help with locating public charging stations.
2. Park and power down
Electric vehicles like the Nissan LEAF need to be powered down before charging can begin. This is no different than a conventional vehicle, which must be turned off before filling the gas tank. The Nissan LEAF won’t let you charge when it is turned on, making this step an easy one to remember!
3. Schedule your charging time (Optional)
To avoid charging your LEAF at specific times of day—if, for instance power at home costs you more in the evening when electricity demand is highest—you can choose to use the charging timer on your LEAF or on your charging app. That way, you'll be more efficient with your home energy consumption.
To schedule with the LEAF’s timer, use the down arrow on the left side of the steering wheel to navigate to “EV Settings” on your display screen and press “Okay”. From there navigate down to “Charge Timer 1” and press “Okay”. Press “Okay” again to turn the timer on, then change the start and end times and days of the week using the arrow buttons.
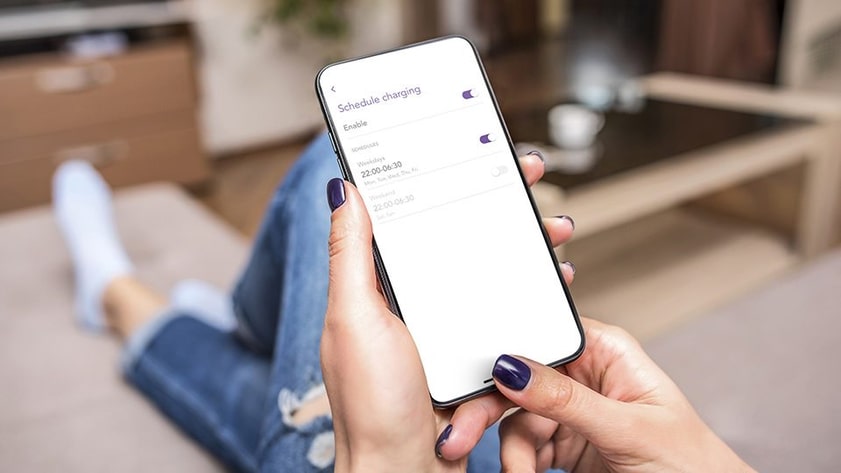
For JuiceBox owners, setting up a charging schedule is easy to configure in the mobile app using the “Schedule Charging” feature. If you need to charge outside of your regular schedule, you can simply tap “Charge Now” at any time for immediate charging.

4. Open the charge port
The charge port is located on the hood of the car just above the Nissan logo. You can open it either by pushing the second button from the bottom on your car key—it has an image of a plug going into an open lock with the word “HOLD” below it—or by pressing the button to the left of your steering wheel that has a gas pump with a plug coming out of it. The charge port lid doesn’t always fully extend when you open it, so you may have to lift it further with your hands. It shouldn’t require any force though. A light will come on inside the port allowing you to see where the ports are in the dark.
5. Open the port cap
Associated with the type of charging you’re doing: Right cap for Level 1 and Level 2 chargers, left cap for Level 3 DC Fast Charging. Simple as that.
6. Plug in the charge connector
When it’s plugged in correctly, your LEAF will beep once. If you don’t hear the beep, push the button on the charge connector, take the connector out of the port and try again. It shouldn’t require any more pressure than it takes to plug in a toaster. If you’re charging at home, your EV will start charging at this point and you’ll hear two beeps.
7. Configure the EV charger
(If you're using a Level 1 charger at home, skip this step) With a pay-to-pump charging station and a smart EV charging station at home, you’ll need to start your session before charging can begin. At a public charging station, this may be done by a credit card reader, but often requires downloading an app. Instructions will be indicated on the public charging stations. The app will allow you to set the percent you want your LEAF charged to, and (if you’re at home) what hours you want the charger to operate. At home, this only needs to be done once—not every time you charge.
8. Get back on the road
When the battery pack reaches 100% (or 80% on most Level 3 DCFC chargers) the Nissan LEAF stops charging on its own. If you’ve specified a max charging level on the charging station app, or if you’ve set your LEAF or smart charging station to stop at a certain time, the EV charger will power off automatically. When you’re ready to go, just push the button on the charge connector and take it out of the port. To manually end charging at any point, first press one of the buttons that opens the charge port lid (see step 2), then unplug the charge connector. Don’t forget to shut the charge port lid until you hear a click!
With so many different EV charger configurations out there, the best way to ensure a simple and efficient charging experience is to install a Level 2 JuiceBox smart charger at home. Its charging speed and intuitive app will make it so you rarely have to worry about recharging on the go.
For more electric car resources, check out our blogs to learn about the types of electric cars, how does an electric car motor work, and more.


